Rendering to the timeline
Once a generation looks right, Butter Motion renders it to a file on your computer and can drop it straight onto your Premiere timeline. This page covers where the file goes, how it lands on the timeline, and the formats it comes in.
Where the file is saved
By default, renders go to a `_ButterMotion` folder next to your project file (.prproj). The panel creates this folder automatically, so your clips stay together with the project that uses them.
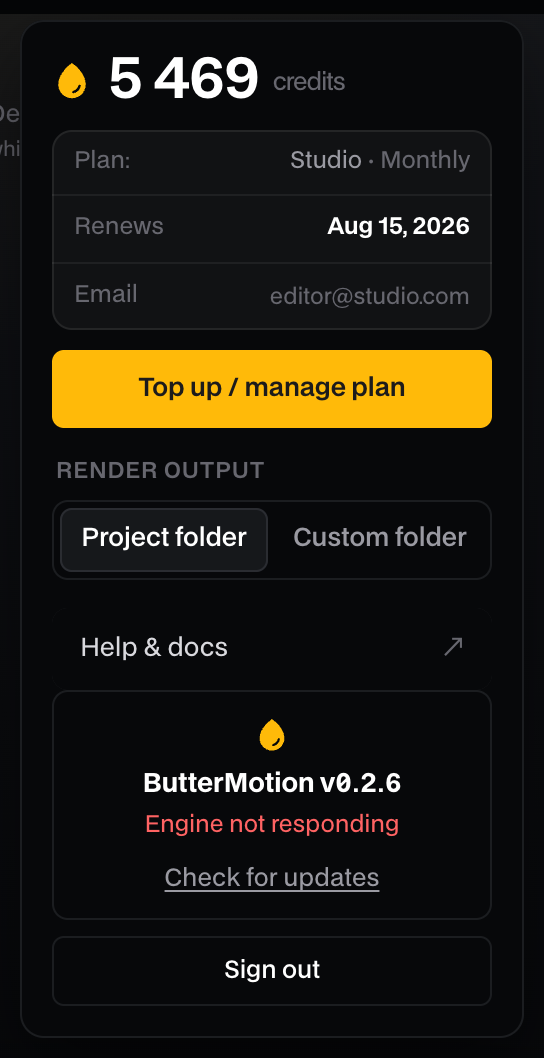
You can change this in the account popover (click the credits chip in the panel header), under Render output:
- Project folder (default) saves to
_ButterMotionbeside the open project. - Custom folder lets you pick any folder on your computer, and the panel remembers it.
If no project is open when you render, the file falls back to your Desktop. Open your project first so renders land in its _ButterMotion folder.
Getting a clip onto the timeline
There are two ways to place a render on your Premiere sequence:
- To timeline is the button on the result screen. It shows up once the current version is rendered (a new generation and every tweak render on their own) and drops the file at the playhead. The Insert button on each render under the card does the same for that file.
- Drag to timeline lets you drag a clip from the panel straight onto your sequence.
Either way, Butter Motion imports the file into a «ButterMotion» bin at the root of your project, so all your generated clips stay organized in one place.
Where the clip lands
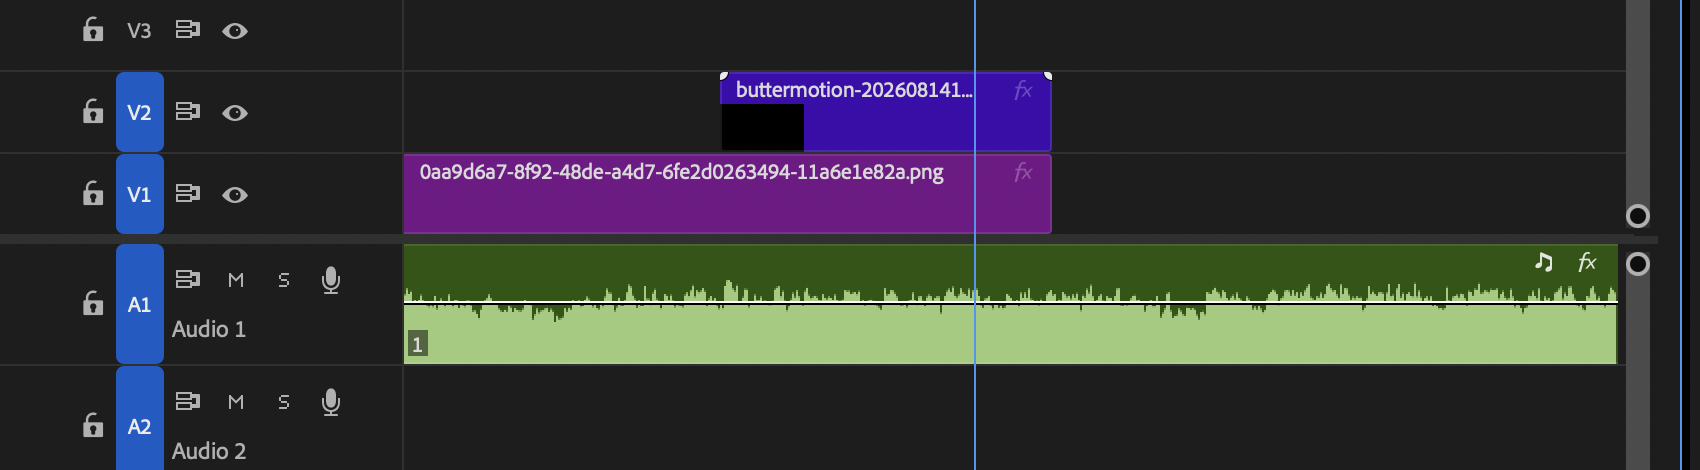
The clip is placed at the playhead position of your active sequence. Which track it goes on depends on the format:
- A solid clip (MP4) goes on the targeted video track, the one highlighted in your sequence. If no track is targeted, it uses V1.
- A transparent clip (MOV with alpha) goes on a video track above your footage, so its transparency keys over what's underneath. The panel takes the first empty track above the targeted one; if every track above is occupied, it falls back to the topmost track.
Before inserting a transparent overlay, add an empty video track above your footage, a V2 above your V1, for example. Two things can go wrong otherwise. With no track above the footage at all, the overlay has nowhere to go and the clip isn't placed. With a track above that already has clips on it, the overlay lands on the topmost track and overwrites whatever sits at the playhead there. An empty track avoids both.
If there's no active sequence, the clip won't land on the timeline, and right now the panel may not spell out why. But nothing is lost: the file is already imported into the «ButterMotion» bin in your project and listed in the Renders tab. Open a sequence, then drag the clip on manually.
Output formats
Butter Motion renders in the format that matches your generation:
| Your clip | Format |
|---|---|
| Solid background | MP4 (H.264) |
| Transparent (alpha) | MOV (ProRes 4444 with a real alpha channel) |
The format follows the generation: a clip made with a background comes out as MP4, a clip made without one as MOV with alpha. Switching the Show background control off on a finished generation moves its render to MOV as well. See Background & transparency.
If it doesn't make it to the timeline
A render is always saved to disk and added to the Renders tab, whether or not it made it onto the timeline. If the insert didn't take (because there was no sequence or no track above the footage), nothing is lost: open the Renders tab and drag the clip on manually once your sequence is ready.