A lower third for an interview, without leaving Premiere
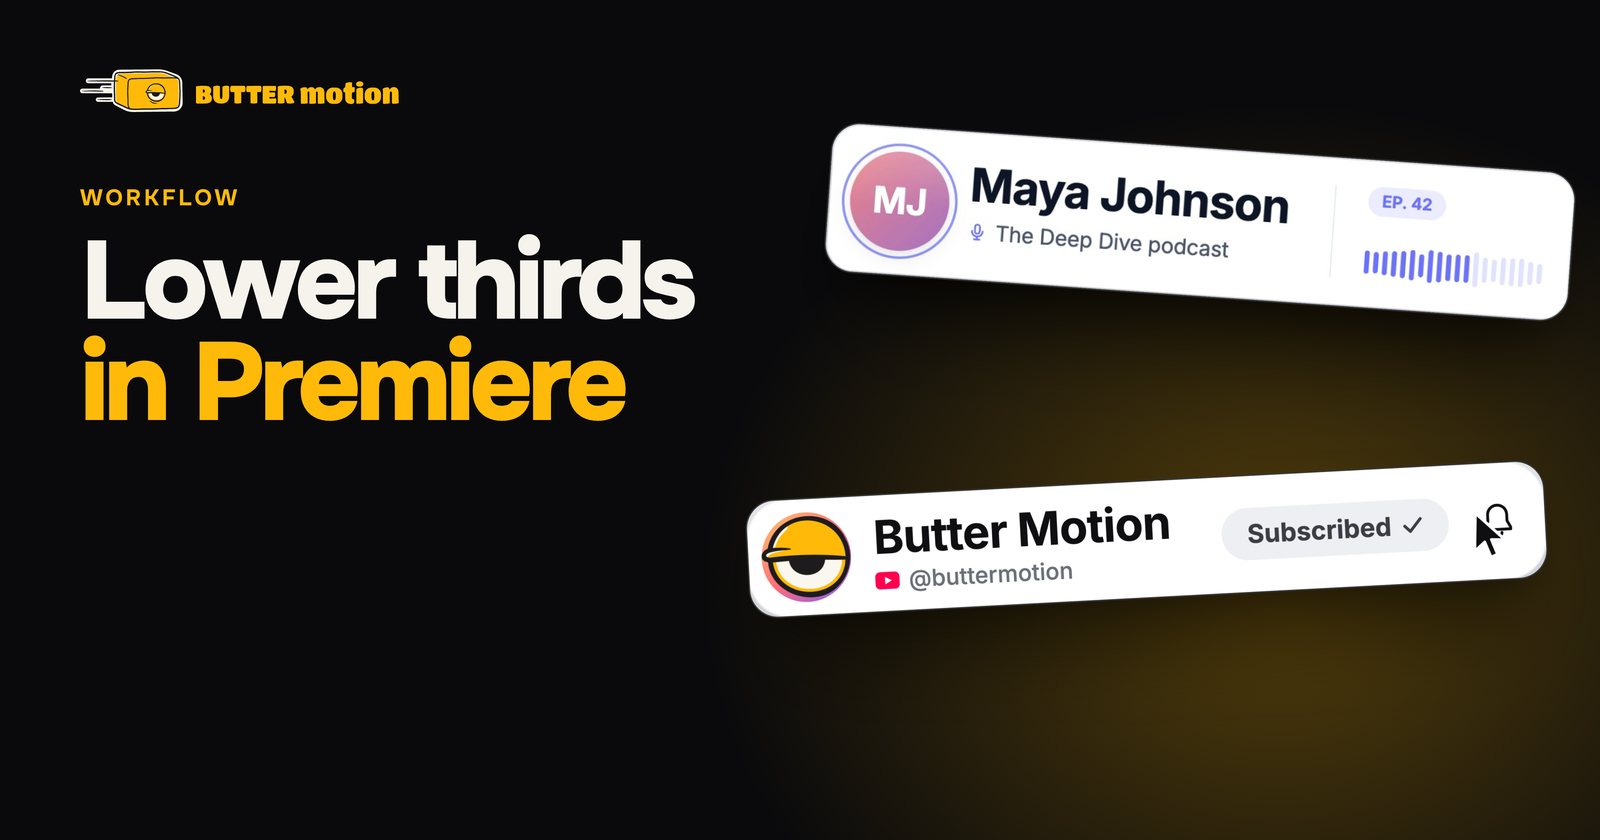
A name plate is the most common graphic in an interview edit and the most annoying one to make by hand. It is thirty seconds of design and twenty minutes of keyframes, times the number of people in the film. Here is the whole thing inside Premiere, start to finish.
1. Set the composer before you write
Some settings you can change later. These you cannot, or not cheaply, so they go first.
- Background: Transparent. This is what gives you the alpha channel, and it decides the output format: a transparent clip renders as MOV (ProRes 4444), a solid one as MP4. A plate on a solid background will cover the shot.
- Duration. A name plate that holds long enough to read runs around five seconds, which is also the default. The range is 3 to 20 seconds. Longer is easy to trim, shorter is not fixable.
- Aspect ratio, resolution, frame rate. Match the sequence you are cutting in. Get all three right and the clip drops onto the timeline with nothing to conform and no interpretation to argue with later.
The summary line under the composer shows the whole combination at a glance, 16:9 · 1080p · 30fps · 5s, and adds · Alpha when the background is transparent. Reading that line is faster than opening each chip again. Duration, format and resolution covers the pickers themselves.
Transparency is decided at generation time. There is one way back: if a finished clip has a background, the customization controls may expose a Show background toggle, and switching it off re-renders as a transparent MOV. Not every generation offers it, so it is cheaper to get right in the composer.
2. Write the plate, not the vibe
The text has to be exact, so put it in quotes:
Lower third with "Anna Petrova" on the first line and "Head of Production" on the second. Thin line under the name that draws left to right. Slides in from the left, holds, slides out to the left. Dark, calm, one accent color.
Two lines, one action, one mood. That is enough for the model to build something you can actually use.
Look at what each part is doing. The quotes protect the spelling of a name you will not get a second chance at. "Slides in, holds, slides out" gives the plate a beginning, a middle and an end, which is what stops it looking like it just appeared. "Thin line under the name" is the only piece of design vocabulary in there, and it steers the whole layout. "Dark, calm, one accent color" keeps the model from decorating.
Swap those four parts and you get a different graphic without learning anything new: a location card, a chapter title, a caption bar for a talking head. Writing prompts goes deeper into the pattern, and prompts that work has the longer version with the mistakes.
3. Correct once, then take manual control
If the design is right but the accent color is not your client's, do not generate again. Open the customization controls and change the color, the text and the font by hand. The controls expose what the generation actually contains, so a name plate gives you its two lines of text, its colors and a font selector, with the preview updating live as you move them. Any font installed on your machine shows up there, which is how the client's brand typeface gets in without a conversion dance. Controls are free on every plan, every time. Generating from scratch is not.
If the design itself is wrong (a box appeared behind the text, the entrance is too busy), use the edit field on the result screen instead: "remove the box behind the text", "make the entrance slower". Your first edit on each generation is free on Pro and Studio, and each one after that is 5 credits. The old version is kept either way, with a small pager under the header, so you can put an edit next to the original and render whichever reads better.
The rule of thumb after a few dozen plates: if you can name the exact value you want, use a control. If you would have to describe it, use an edit.
4. Put it on the right track
A transparent clip needs an empty video track above your footage. If your interview is on V1, make sure V2 exists and is empty, then use To timeline. The clip lands at the playhead on the track above, and its alpha keys over the shot.
The other two outcomes both look like a bug:
- No track above at all and the overlay has nowhere to go, so it is not placed. This is the single most common reason a lower third seems to vanish.
- Every track above occupied and the overlay lands on the topmost one, overwriting whatever sat at the playhead there. Nastier, because nothing looks wrong until you scrub back.
A solid MP4 behaves differently: it goes to the targeted video track, the highlighted one, or V1 if nothing is targeted.
If no sequence is open when you insert, nothing is lost. The file is already rendered, imported into the «ButterMotion» bin in your project and listed in the Renders tab. Open a sequence and drag it on by hand. Rendering to the timeline has the details.
5. Do the rest of the cast in two minutes
Once the first plate is right, save it as a preset with the bookmark button on the result screen. On a plan it also uploads to your cloud library, so it is waiting for you in the next project. Pro holds 10 presets there, Studio holds 50, and a save that does not fit the limit still lands on your computer, the panel just tells you it was not backed up.
Then for every other speaker you open the preset, change the two lines of text in the controls, and render. Same design, same timing, same accent color, five plates in the time the first one took to describe.
Presets live in the Presets tab, where each one can be renamed, moved into a folder, or removed. Duplicating one to build a variation from is the single action that lives on the website instead, on the My presets page, and the copy syncs back to the panel. See Saving and using presets and the cloud preset library.
Name the preset after the project, not after the person. "Doc interview plate" survives the edit. "Anna" does not.
Saving a preset needs a connection, since the library lives in the cloud. Offline, the bookmark button and the preset menu items are switched off rather than saving something that would drift from what is actually stored.
When a plate comes back wrong
Four things go wrong often enough to be worth naming, and each has a different fix.
The plate covers the shot. It was generated with a background. Check whether the controls offer Show background, and if not, generate again with Transparent set. See Background and transparency.
The name is misspelled. Do not spend an edit on it. Open the controls and retype the line: text is a control, not a prompt problem.
It is gone from the timeline. Almost always the empty track above. Look in the Renders tab, and if the file is there, the render worked and only the insert did not.
It is too fast to read. Two seconds looks fine in a loop and reads as a flash in a cut. A long plate trims on the timeline, a short one has to be generated again, and that is the argument for starting at five seconds.
What it costs
One generation at the tier you picked. Flash is 7 credits, Ultra 10, Animation 15, and a name plate is the classic case where Flash is genuinely enough. Nothing else on the plate adds to that: transparency, resolution, frame rate and length do not change the price.
After that generation the rest of the work is free: the controls, the preview, re-rendering, exporting, dropping it on the timeline, and on Pro and Studio the first edit. In practice a full set of plates for a five person documentary costs one generation and a few minutes of typing. The tier prices are in How credits work, and the plans are on the pricing section of the main page.
One cost that is not in credits: disk. A transparent clip is ProRes 4444, which stores 10 bit color plus the alpha channel, and at 4K that runs roughly 0.5 to 0.8 GB for every five seconds. A cast of eight with a few takes each quietly costs several gigabytes. The panel warns you below 5 GB free, but it is worth clearing old renders yourself. See Not enough disk space.
The check before you render
- Background is Transparent, and the summary line says
· Alpha. - Aspect, resolution and frame rate match the sequence.
- Both lines of text are spelled the way the subject spells them.
- There is an empty video track above the footage.
- The plate holds long enough to read out loud, slowly.