Quick start
The whole path from buying a plan to a finished clip on your timeline, step by step. Each step is short, and where there's more to know, there's a link to the full page.
1. Pick a plan and pay
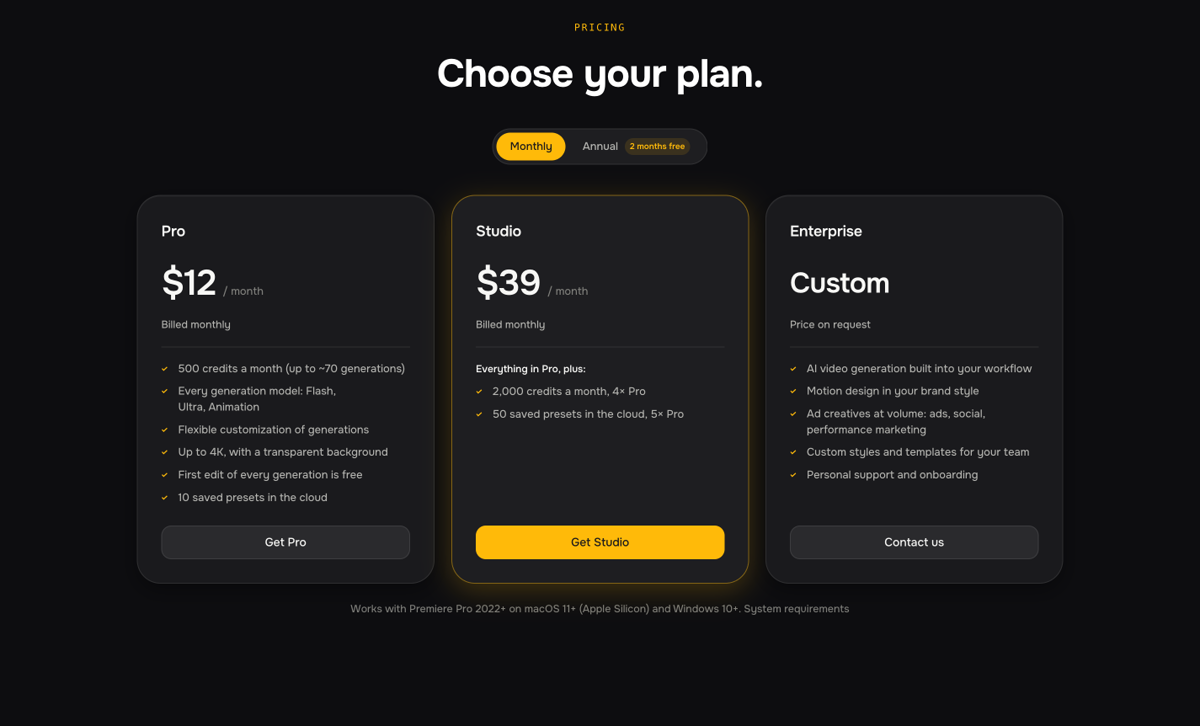
Open the pricing section, choose Pro or Studio, monthly or annual, and click Get Pro or Get Studio.
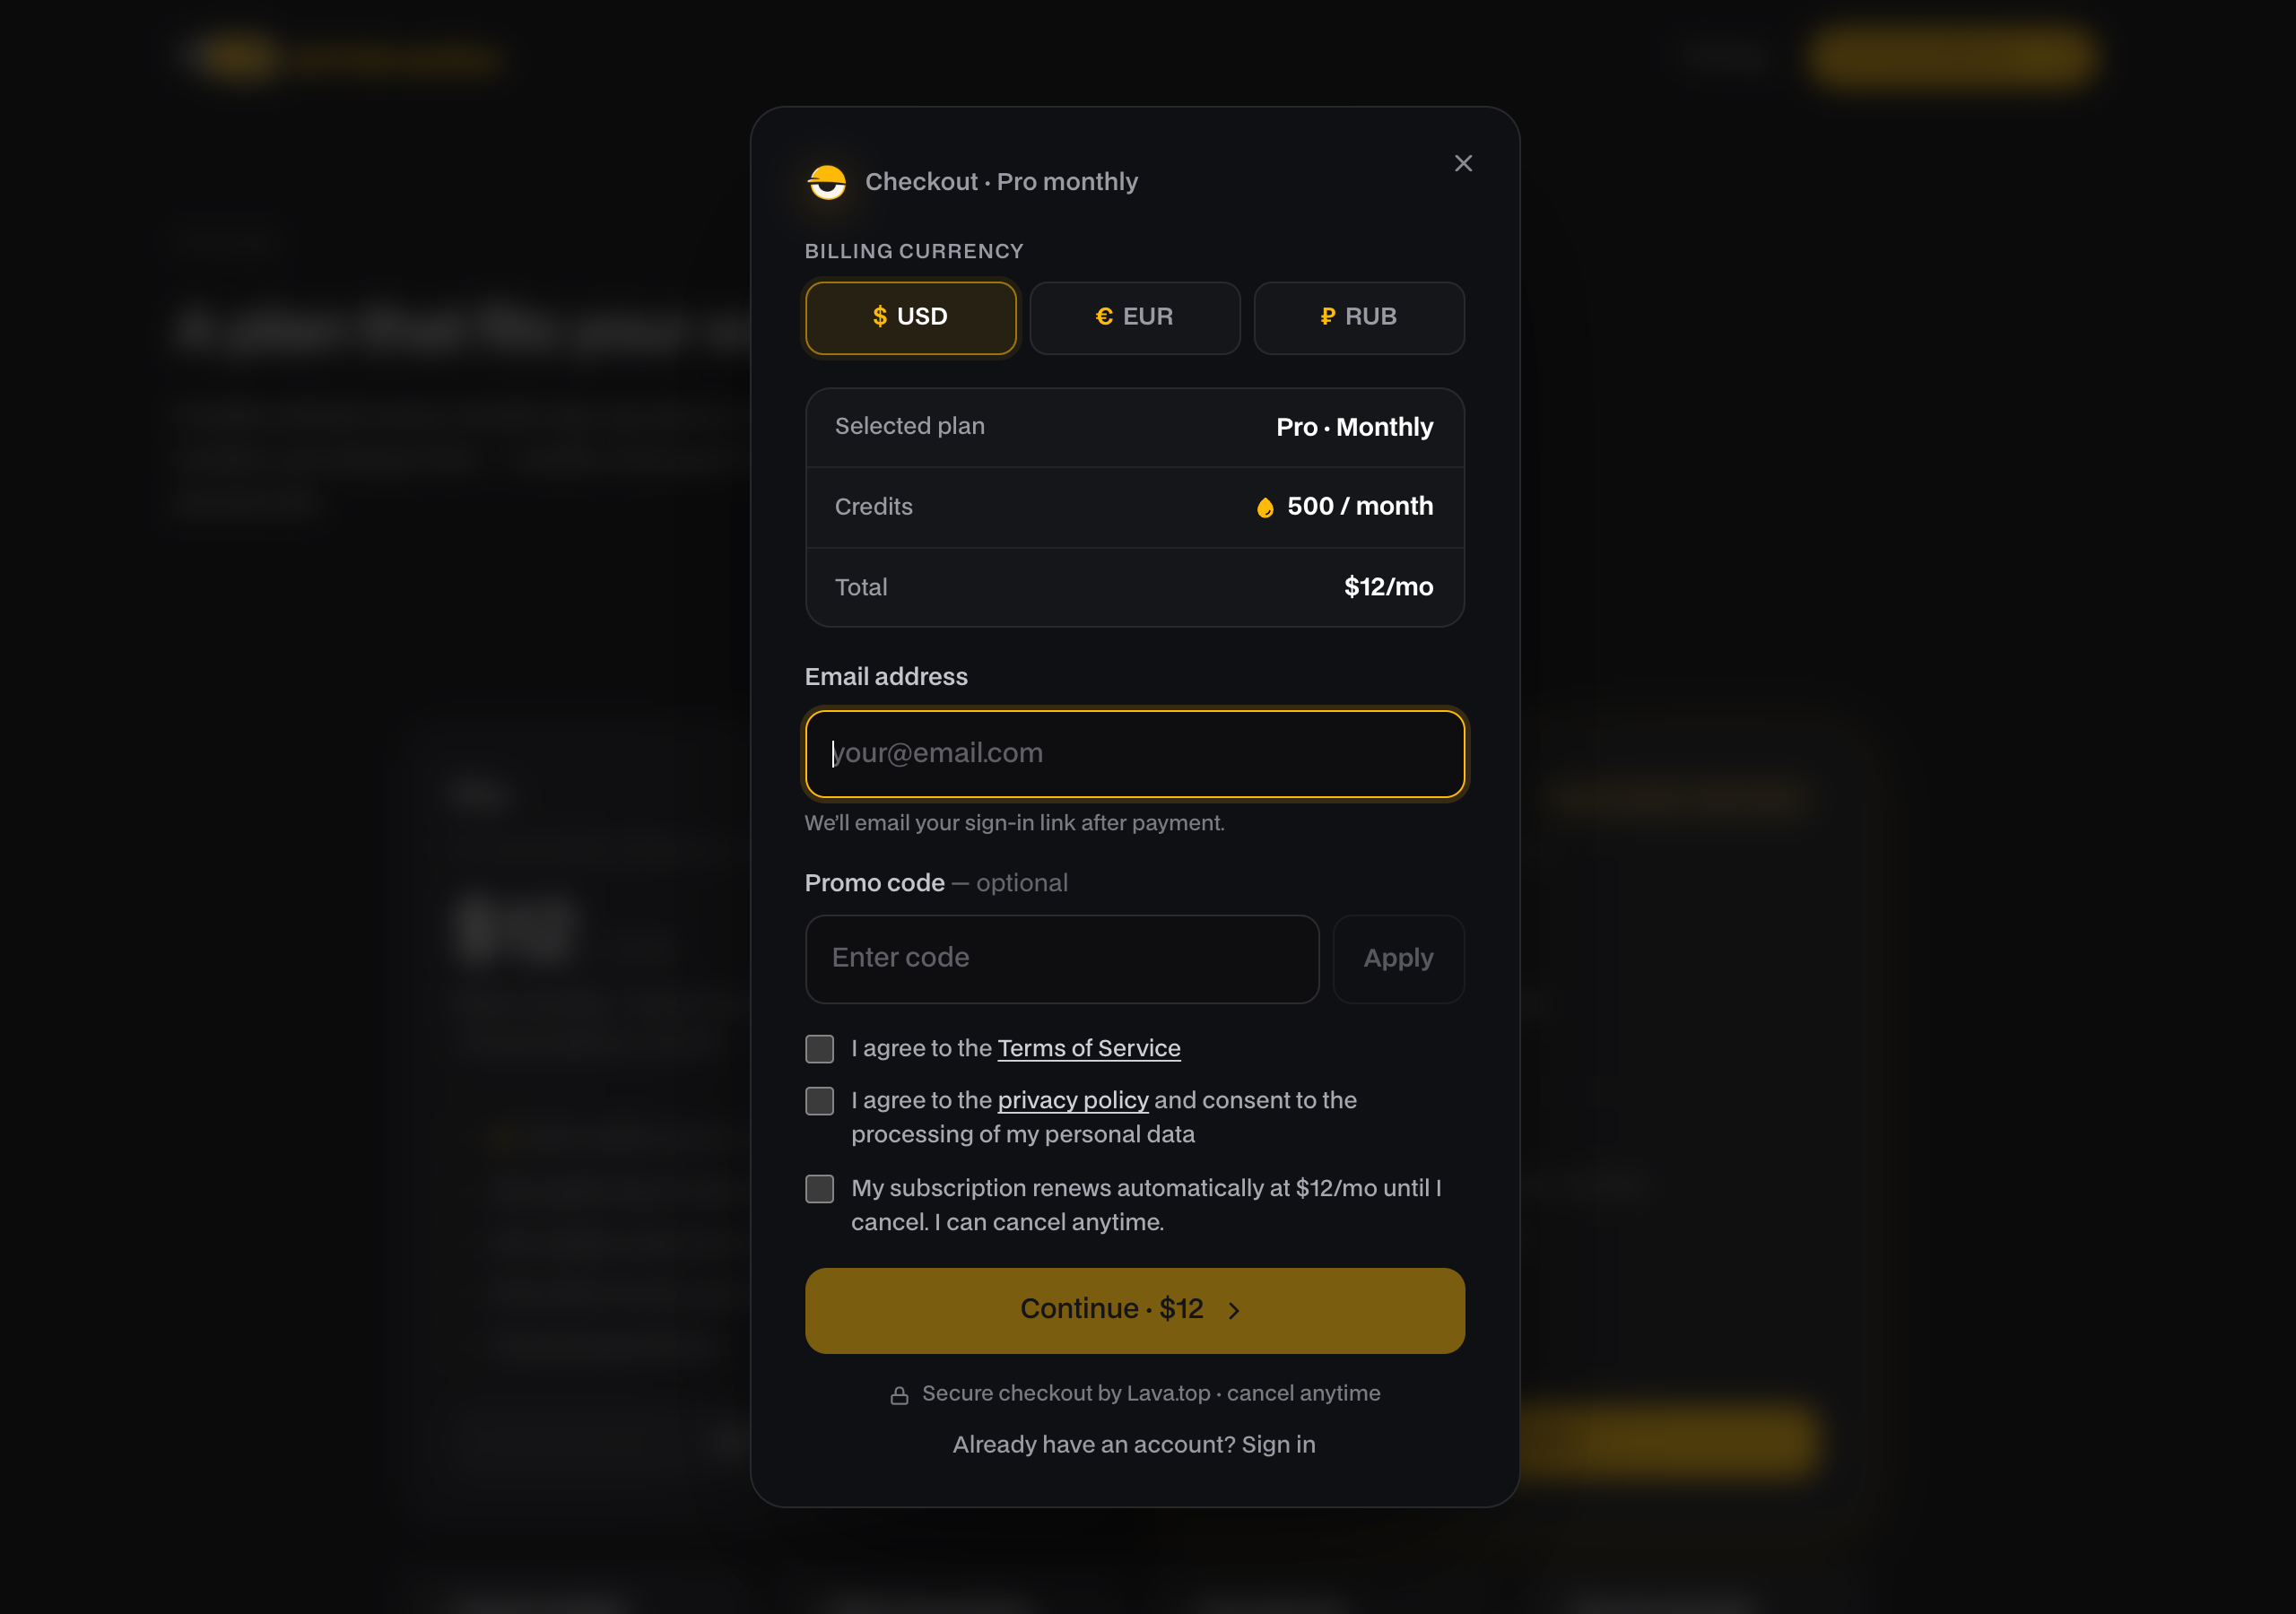
In the checkout window pick your currency, enter the email you'll sign in with, tick the three agreements and click Continue. You'll finish the payment on the payment provider's page.
When the payment goes through, the window shows Payment confirmed and your account is created and credited right away. We also email a sign-in link to that address.
More: Plans: Pro & Studio, Payment methods & currencies, Promo codes.
2. Sign in to your account
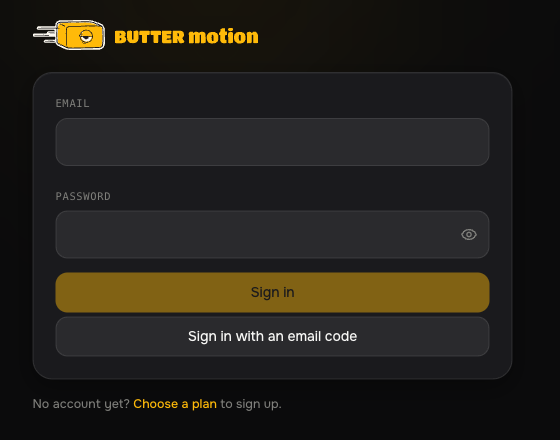
Click Download Butter Motion in the confirmation window, or open the link from the email. On the sign-in page enter your email and choose Sign in with an email code: we send a 6-digit code, you type it in, and you're in your account. A password is optional, you can set one later.
More: Password & email codes, Your account page.
3. Download the app
In your account open Download and get the installer for your system: a .dmg for macOS or a .exe for Windows.
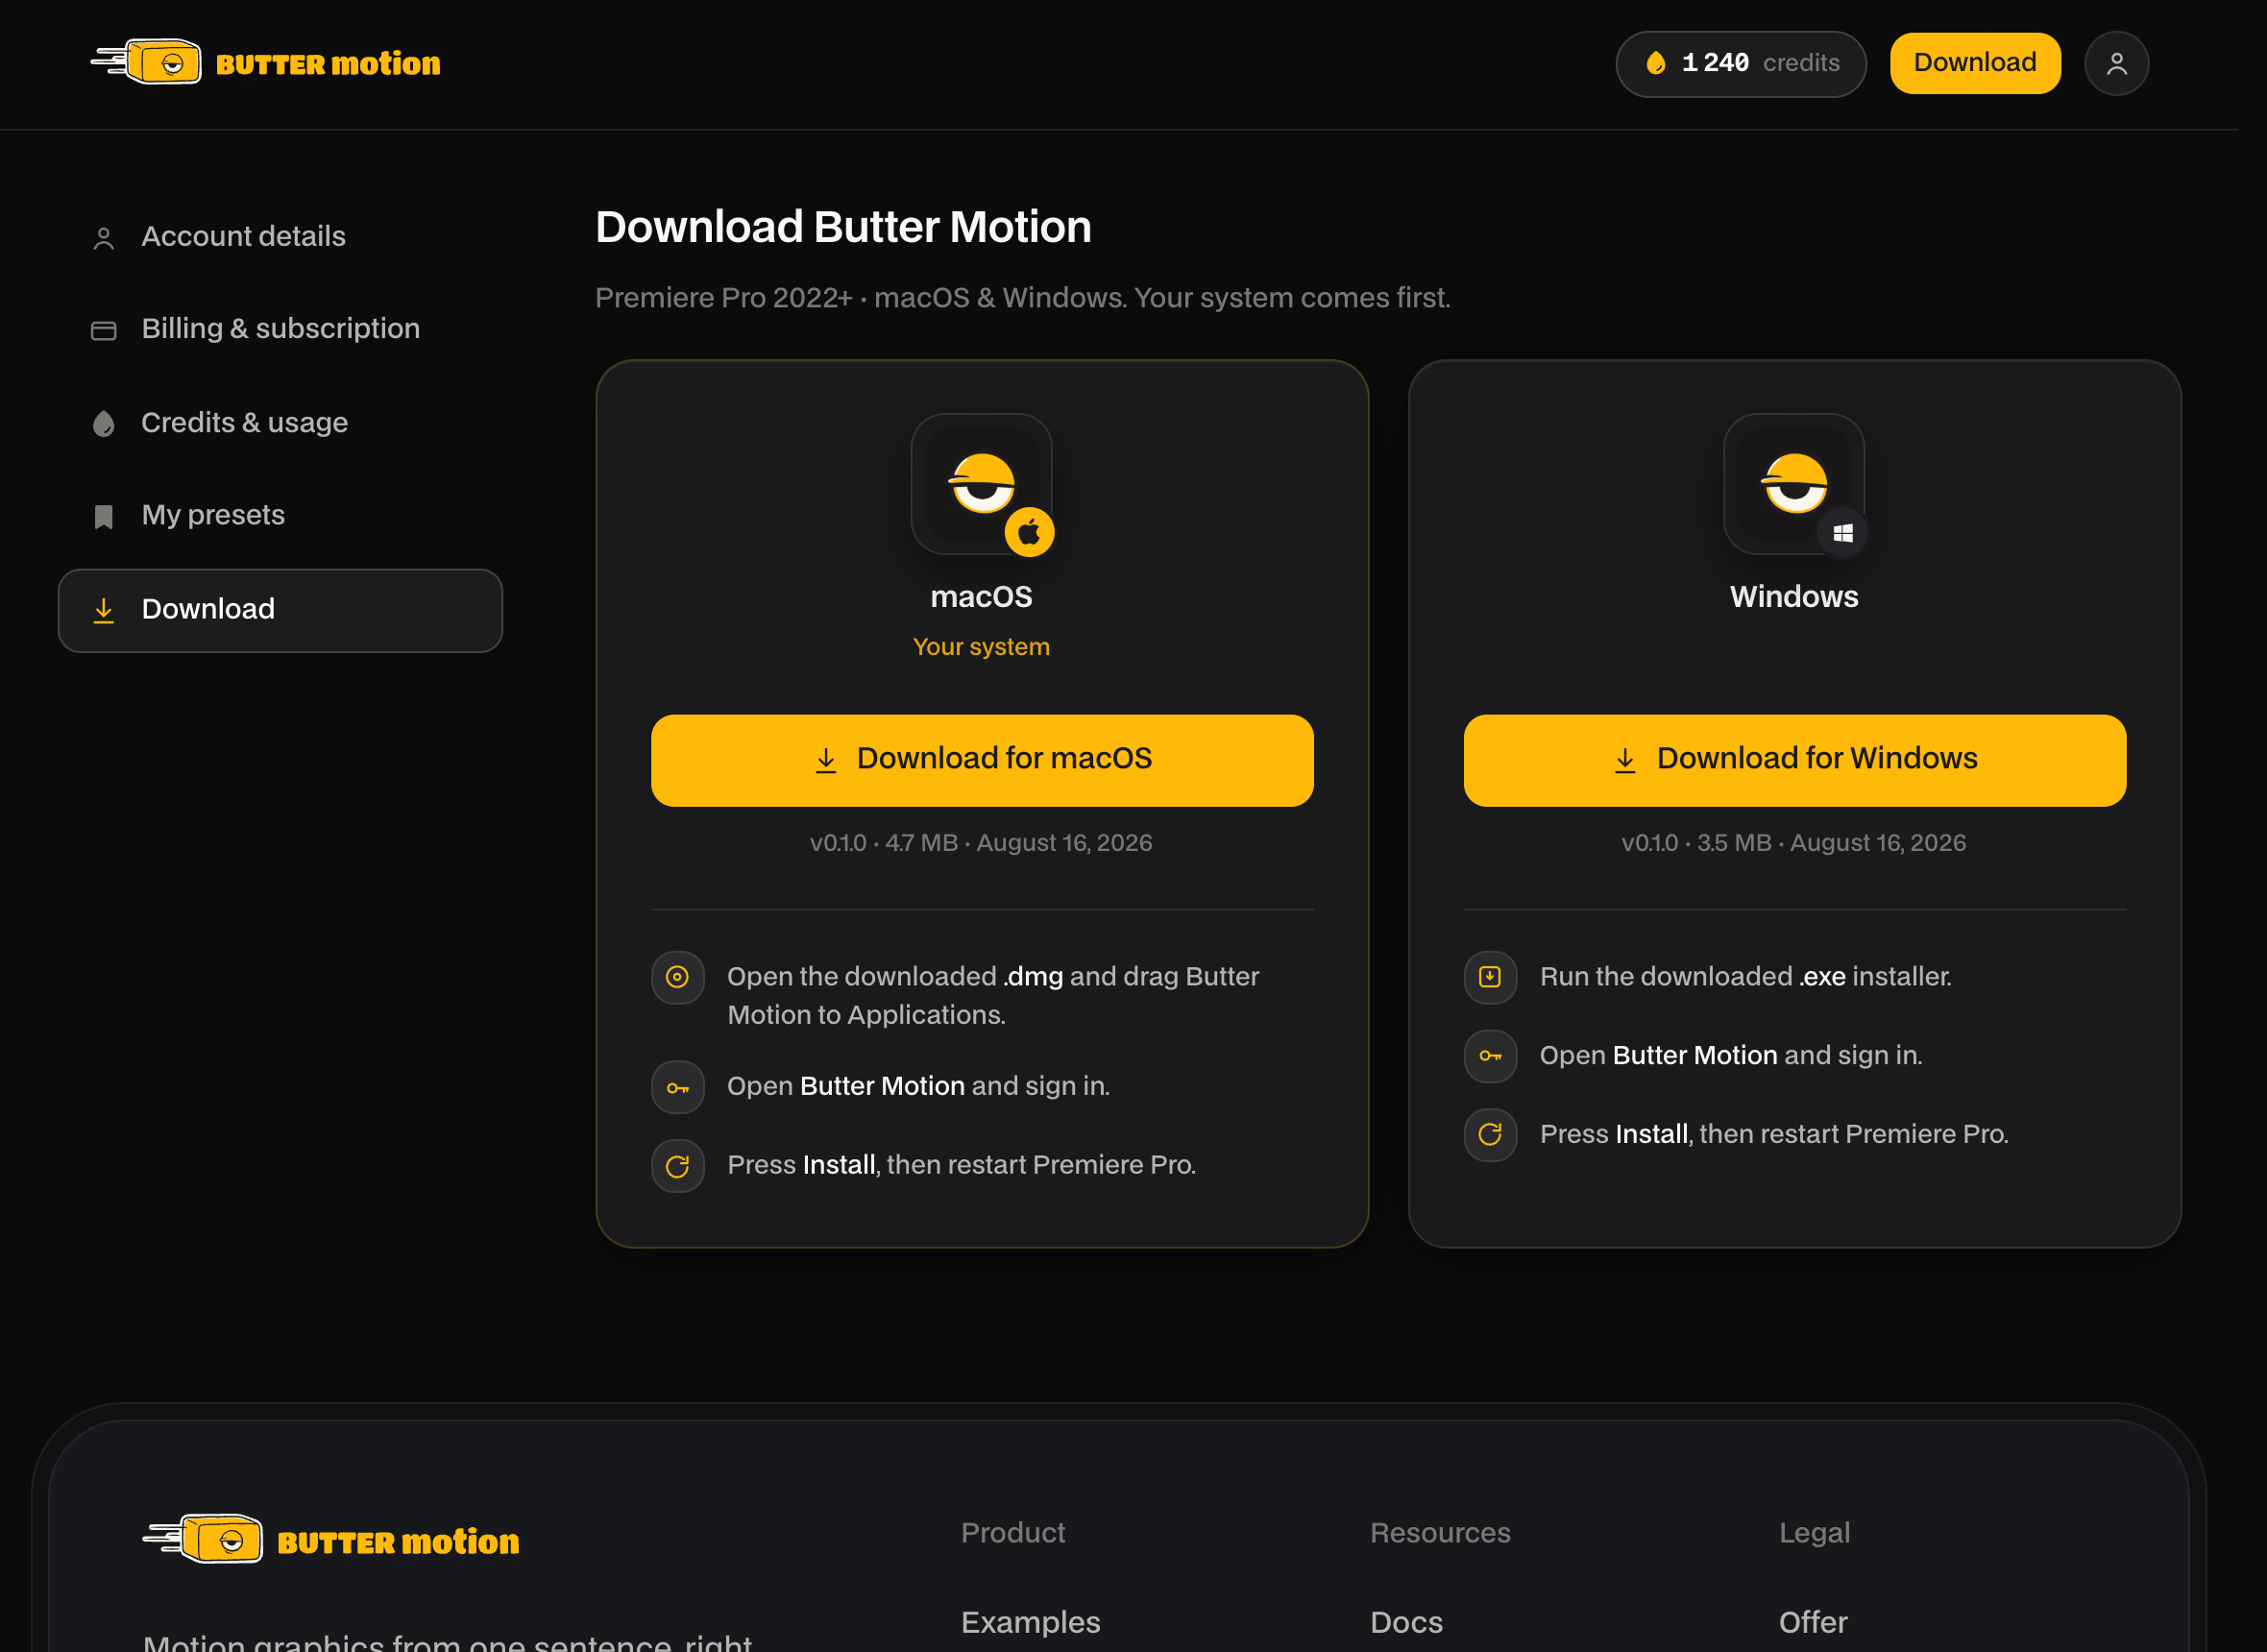
Check that your computer fits first: Premiere Pro 2022 or newer, macOS 11+ on Apple Silicon or Windows 10+. See System requirements.
4. Install and sign in inside the app
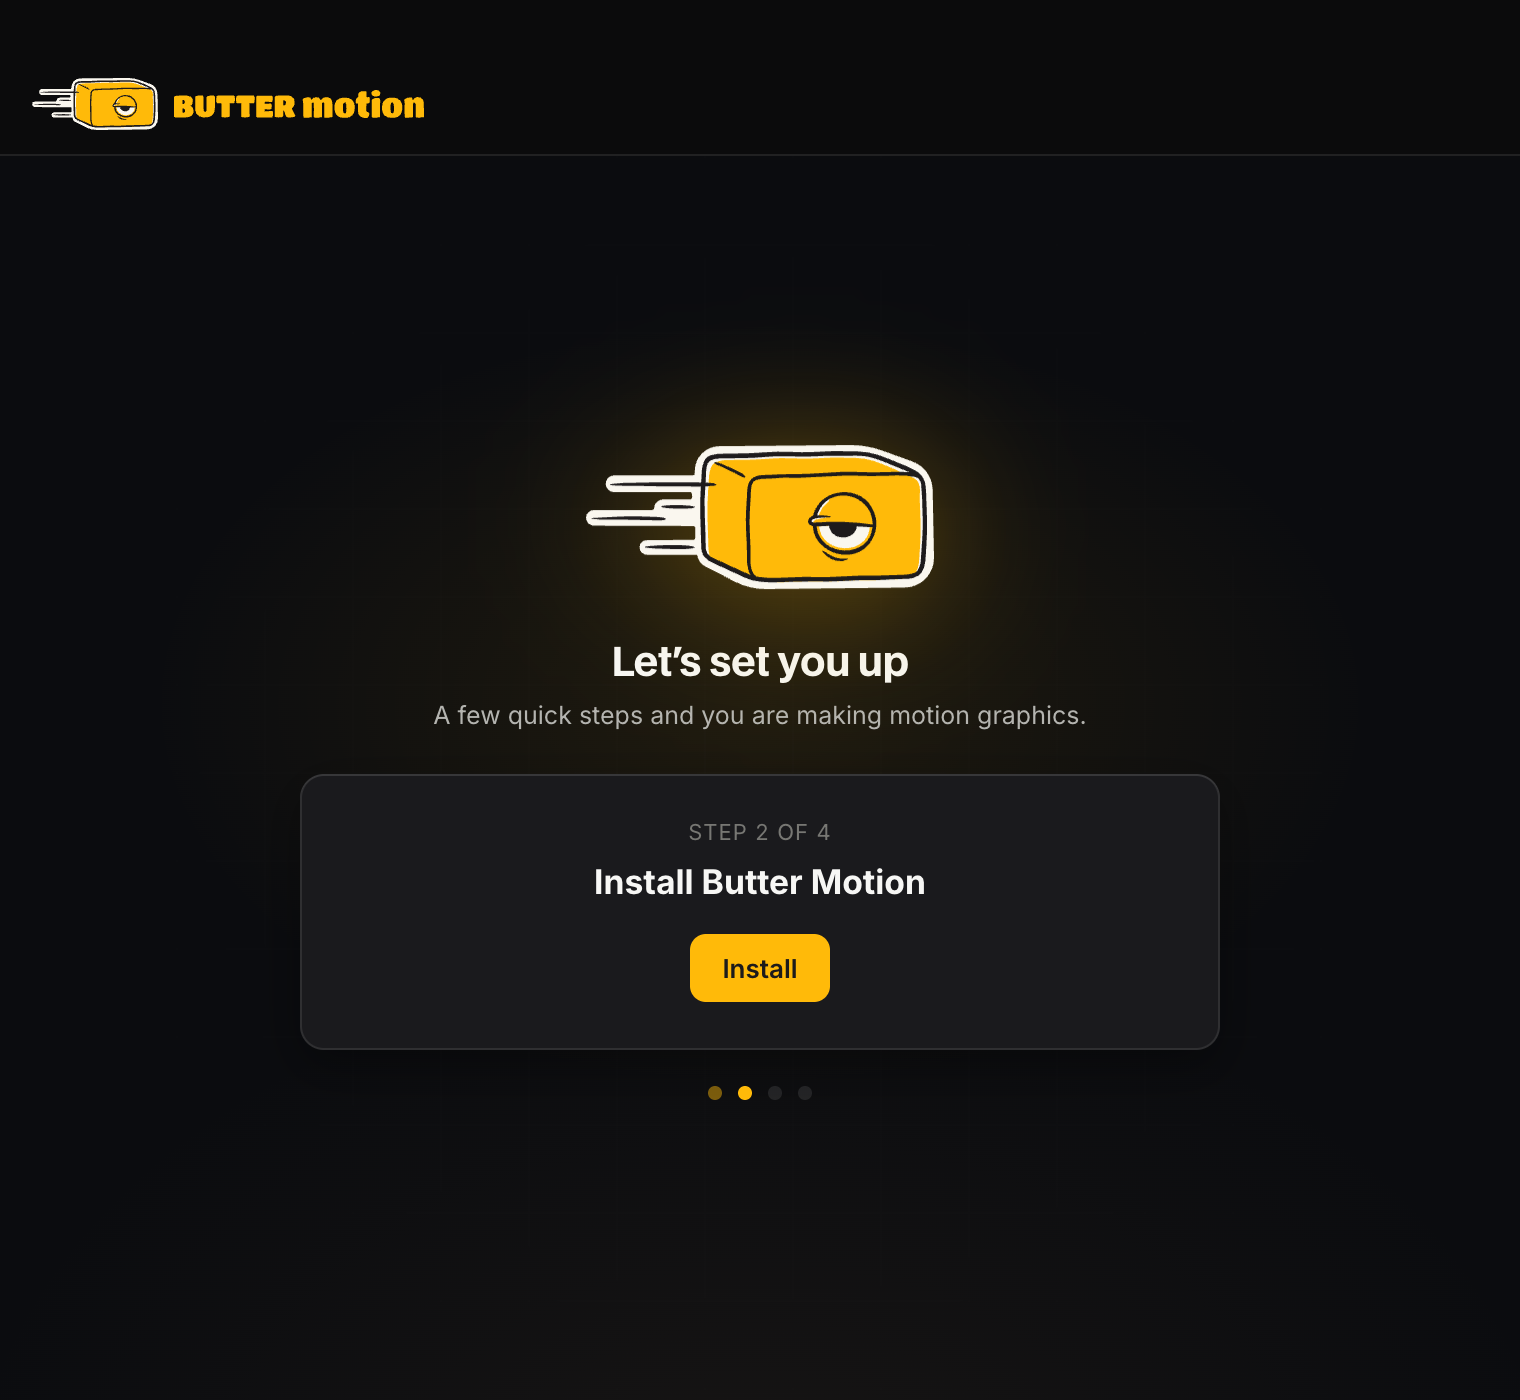
Quit Premiere, run the installer and open the Butter Motion app. On first launch macOS or Windows asks you to confirm opening it, that's expected: the exact clicks are on Install on macOS and Install on Windows.
In the app:
- Click Sign in via browser, then Connect this device on the page that opens.
- Click Install. The app downloads and sets up the plugin inside Premiere.
- Wait for Everything's ready.
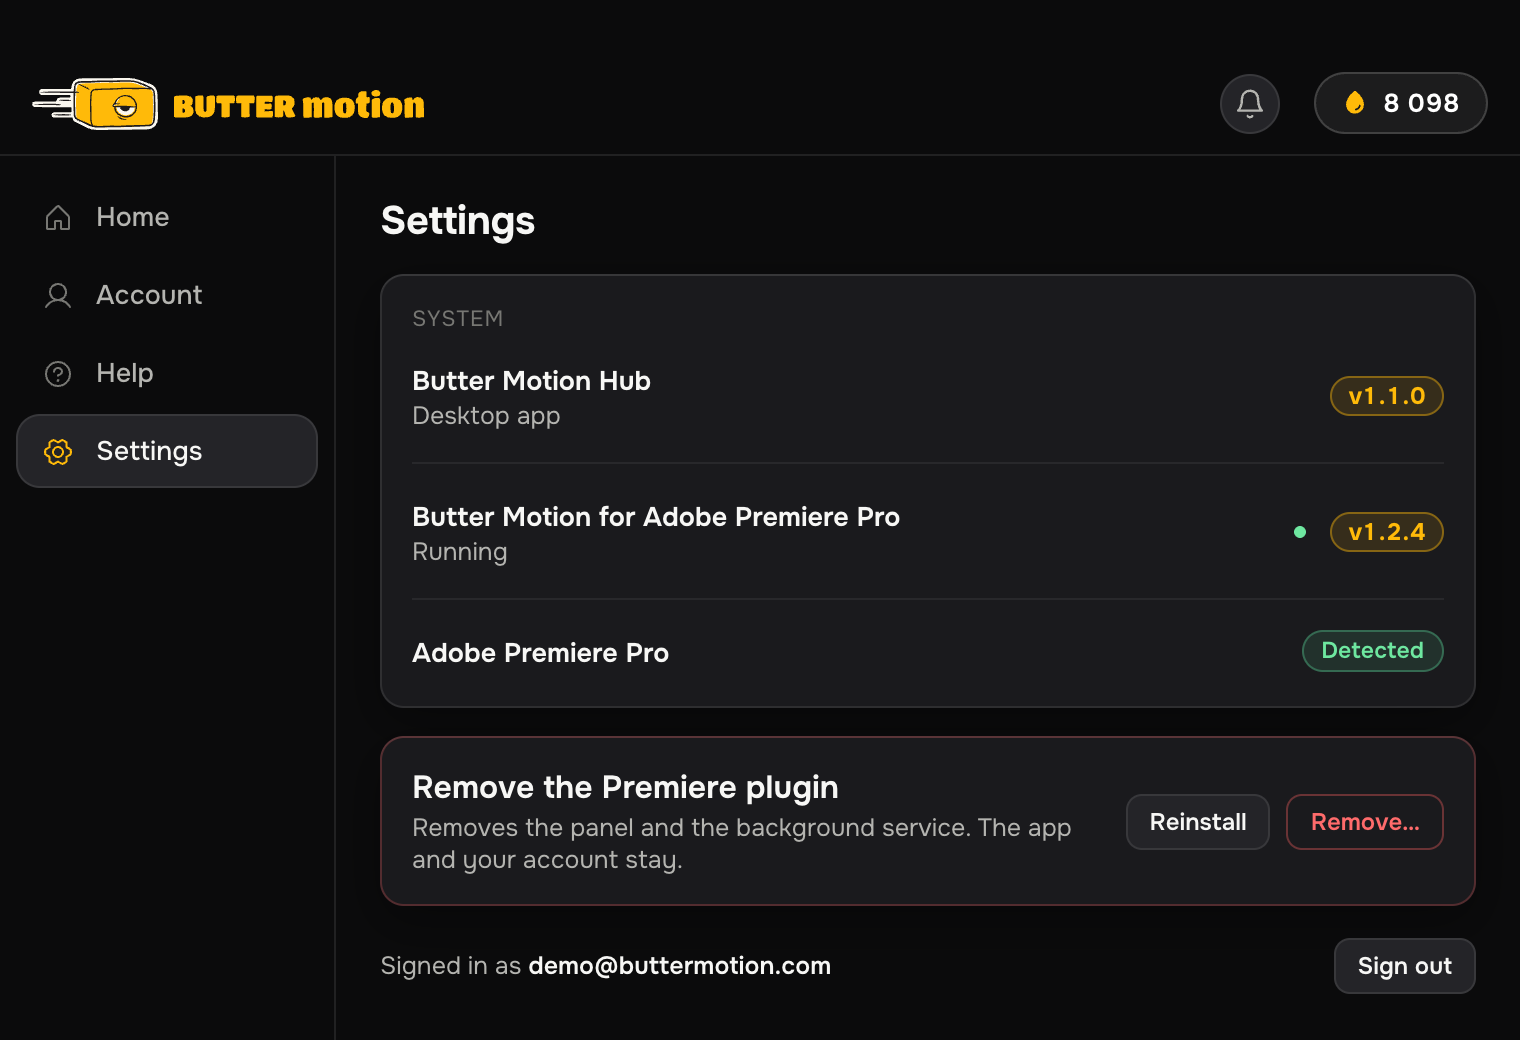
Check the installed version. In the app open Settings: under System you'll see the version of the app itself (Butter Motion Hub) and of the Premiere plugin (Butter Motion for Adobe Premiere Pro) with a green dot when it's running. Compare them with the version on the Downloads page. The plugin updates itself from the panel, see Updating Butter Motion.
More: The Butter Motion app.
5. Open the panel in Premiere
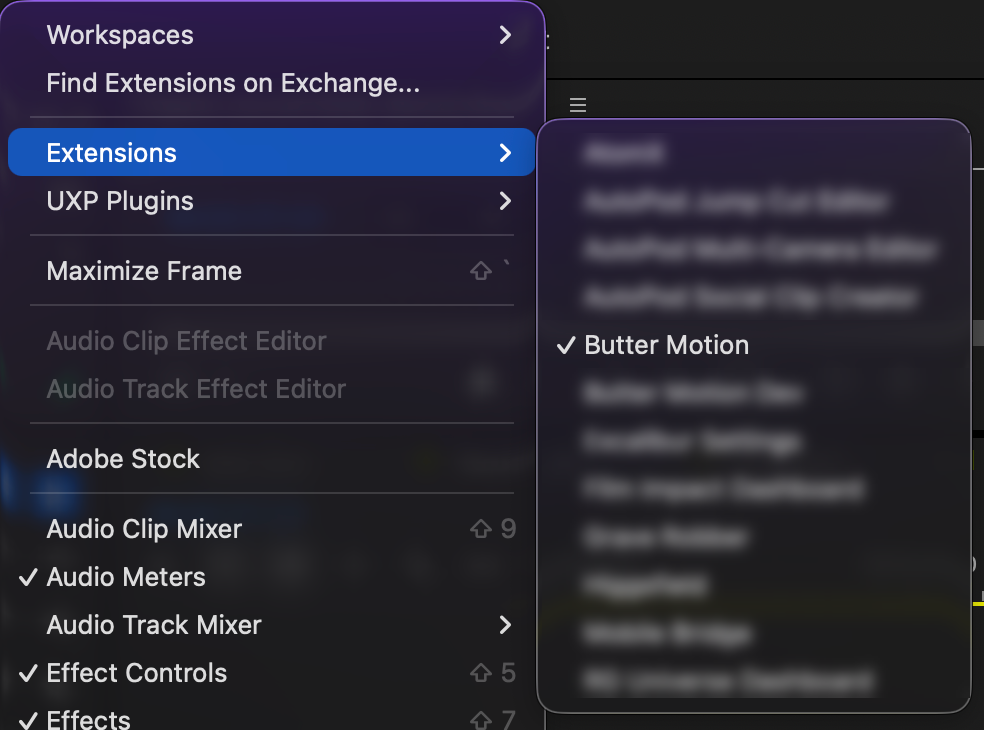
Start Premiere (a full restart after installing), open or create a project, then go to Window → Extensions → Butter Motion.
The panel opens already signed in and shows your credit balance. If you see Sign in via browser instead, follow Sign in & connect a device. Not in the menu at all? See Panel missing in Premiere.
6. Make your first generation
Type what you want to see in the prompt box, leave the quality on Ultra and press ↑ (or Cmd+Enter / Ctrl+Enter). A short clip takes a few minutes.
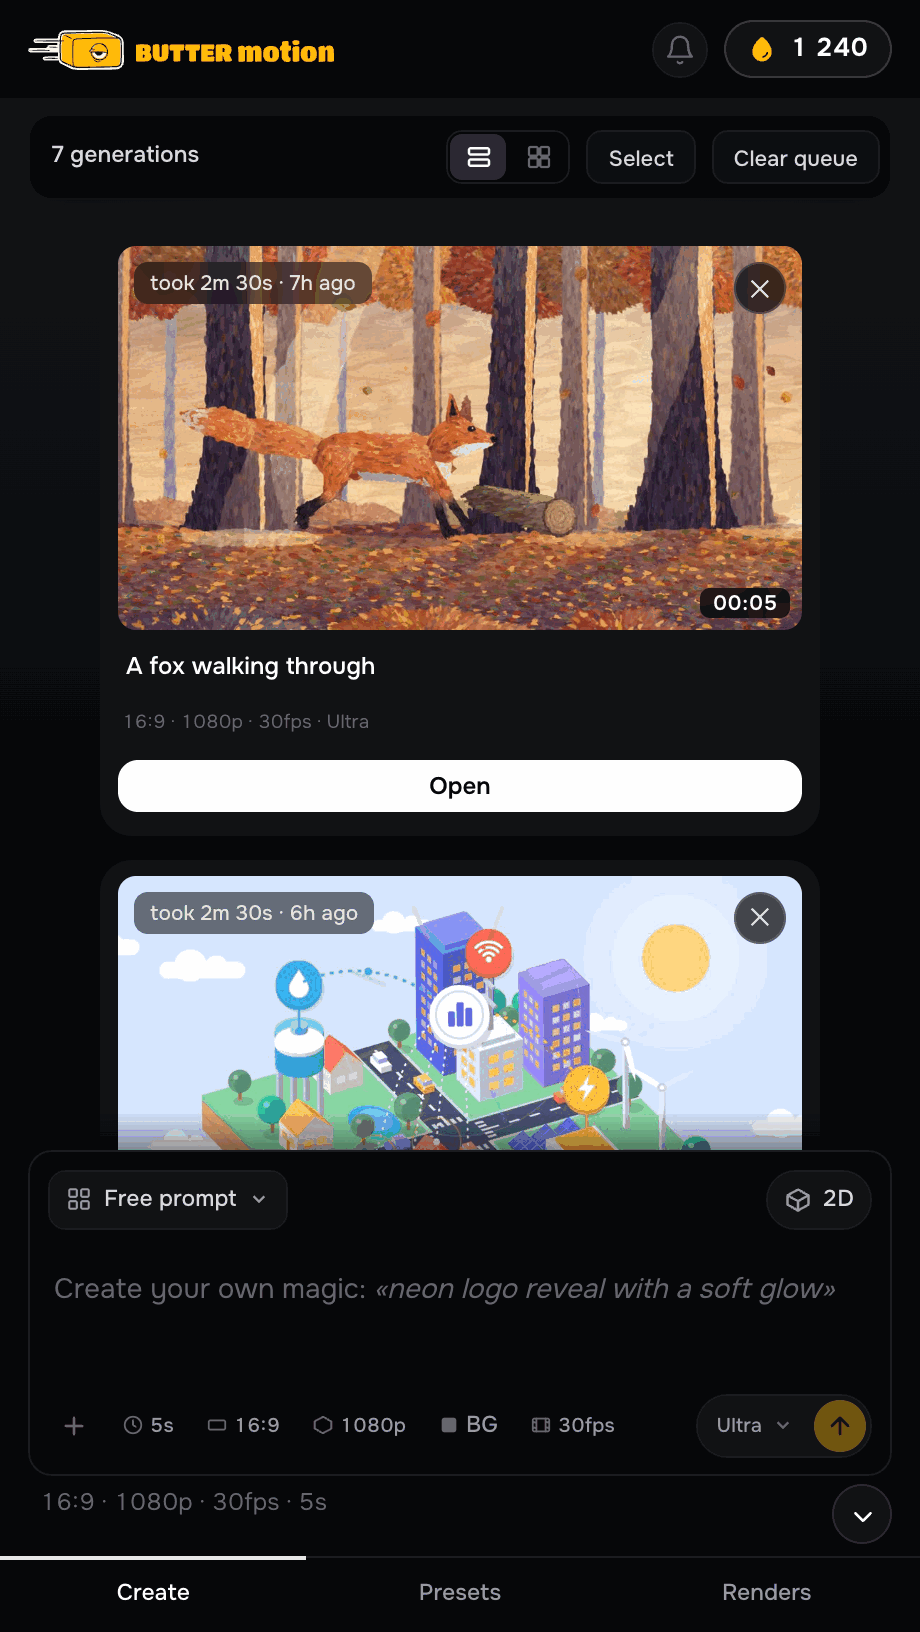
When it's done, click Open on the card: the result screen shows a live preview. Want a change? Write it in plain words in the Tweak bar, the first edit of every generation is free.
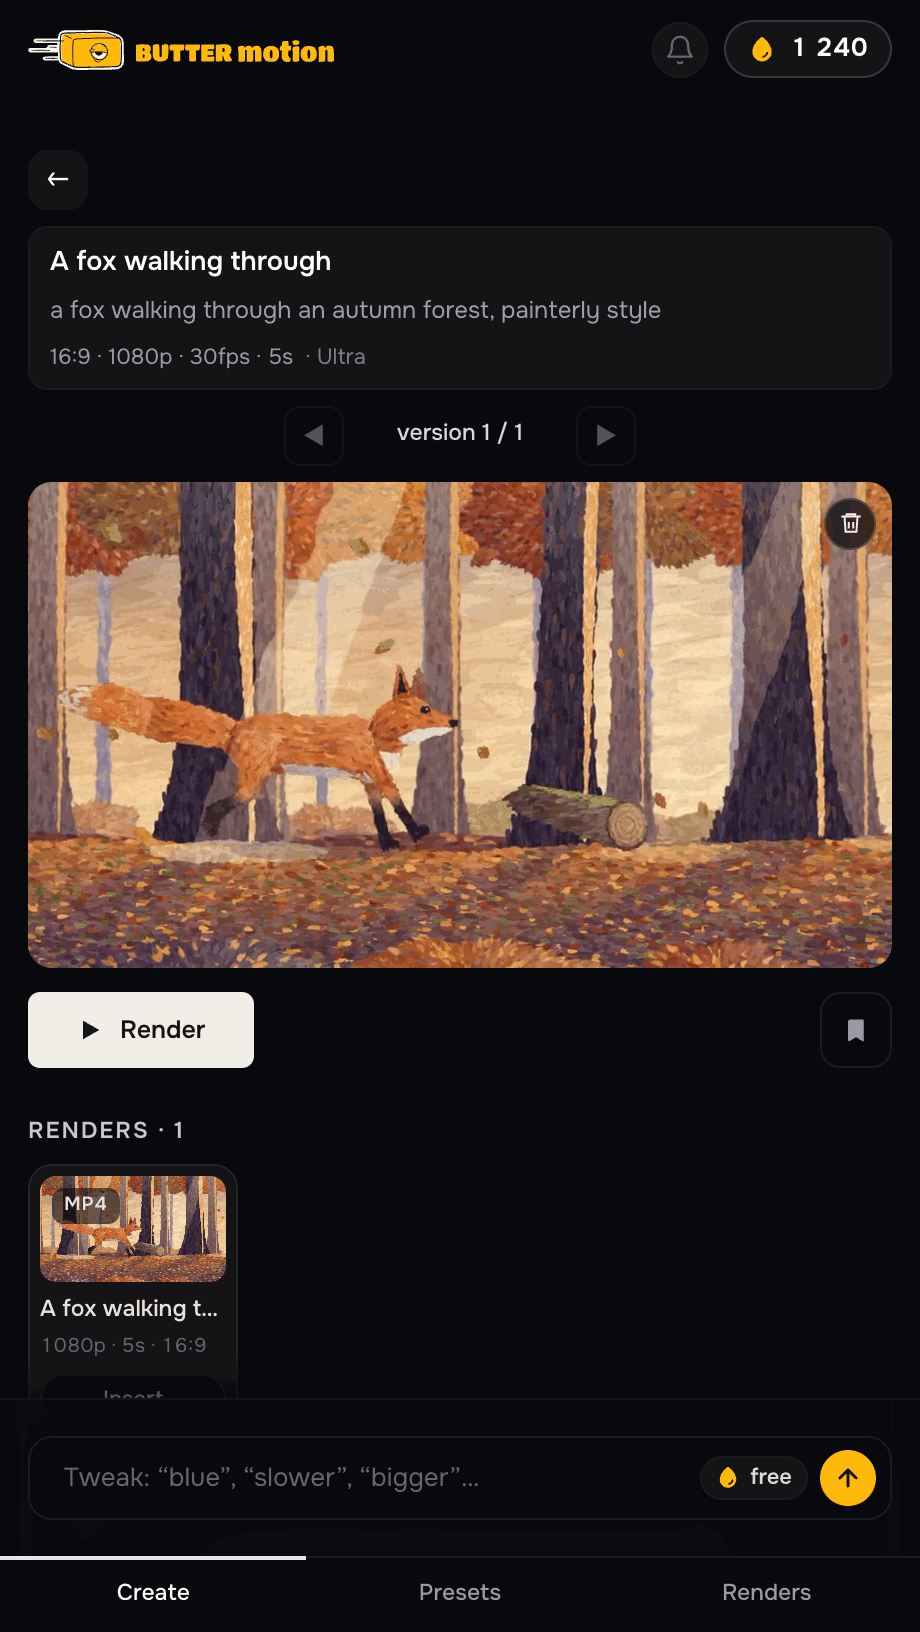
More: Your first generation, Writing prompts, Quality tiers, How credits work.
7. Fine-tune it with controls
Under the preview there's Customize: the clip's own settings, grouped as Colors, Size, Motion, Scene and so on. Change a colour, retype text, move a slider, and the preview updates right away. No new generation and no credits: controls are free with a plan.
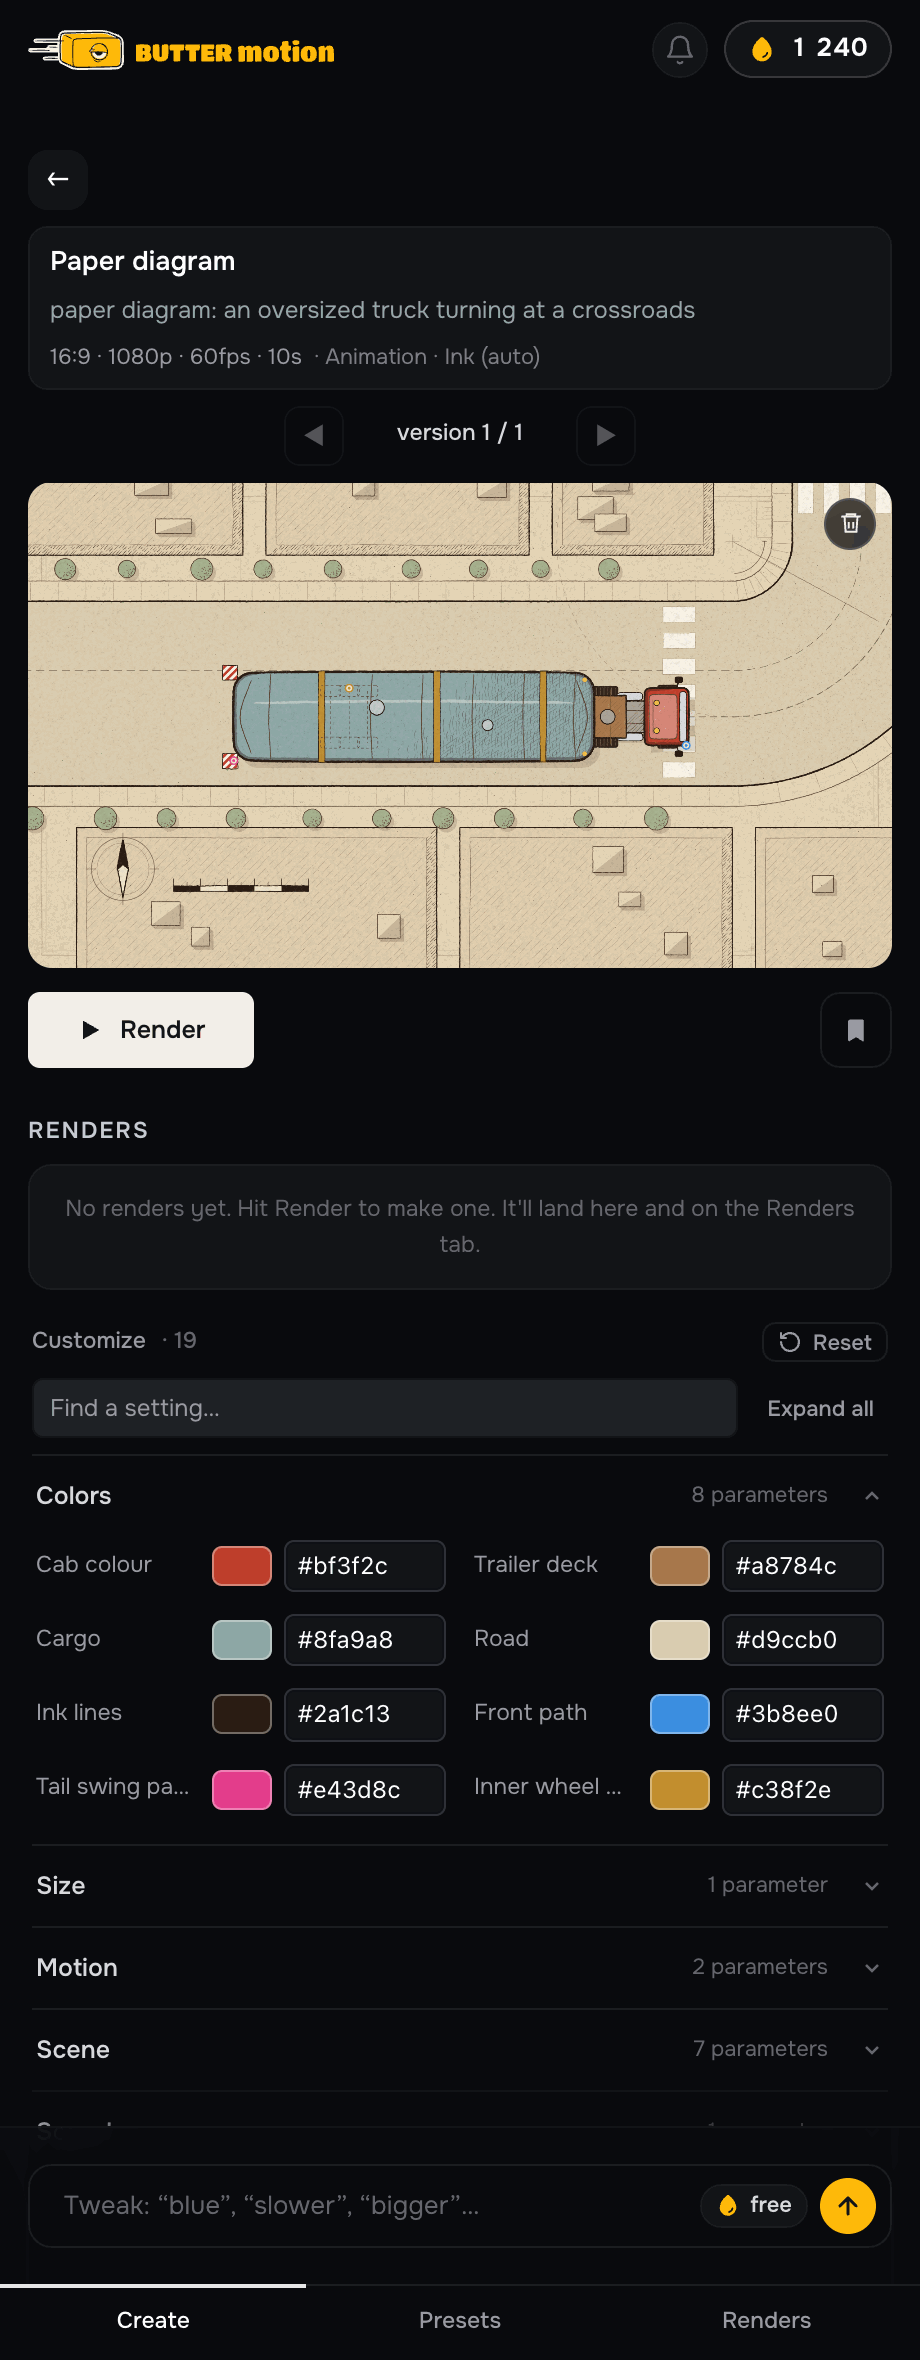
Which controls you get depends on the clip: a counter exposes its number, a title its text, a scene its colours. Use Find a setting to search and Reset to go back to the original. More: Customization controls.
8. Put it on your timeline
Click To timeline. Butter Motion renders the clip on your computer and drops it into the active sequence.
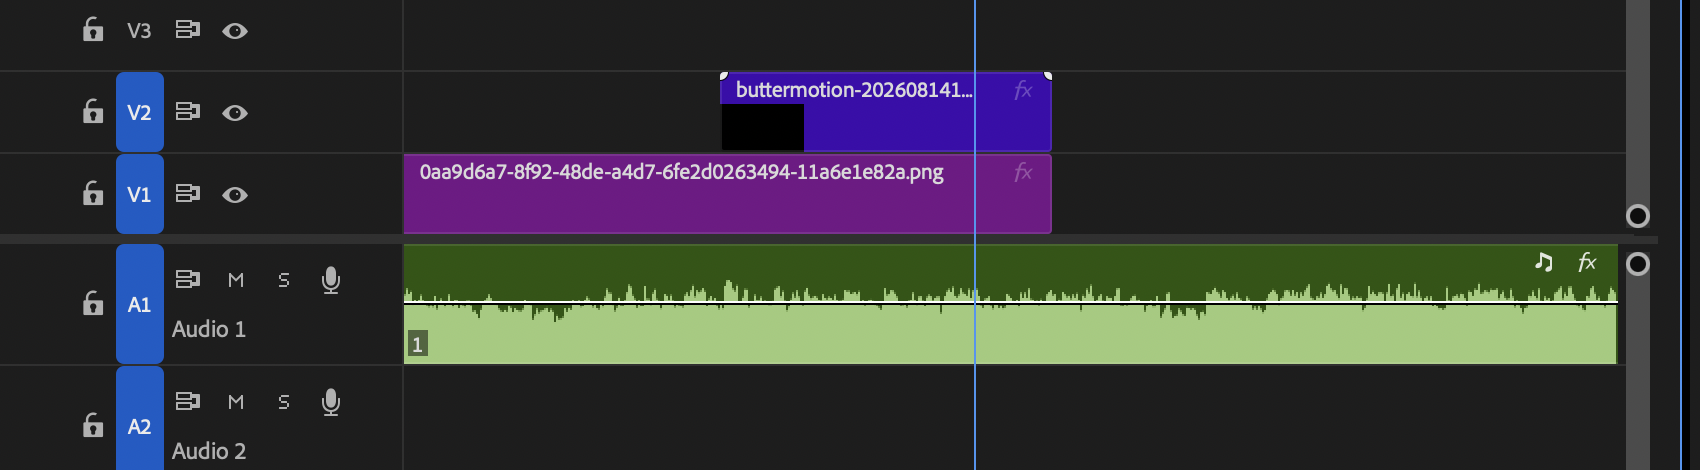
Done: your first clip is in the edit. Next, try a transparent background for titles over footage, or save a preset to reuse a look.
If something goes wrong
- The panel isn't in Premiere: Panel missing in Premiere.
- The panel doesn't respond: Butter Motion isn't responding.
- A generation failed: Generation failed, the credits come back automatically.
- Anything else: Contact support.